How to Install Joomla on CentOS 7 linux
In this tutorial, we show how to Install Joomla on CentOS 7 linux.
Although the most common CMS for blogging is WordPress, but still lots of bloggers prefer Joomla for blogging and it’s the reason for us to talk about installing Joomla.
Here is our environment:
OS: CentOS 7 linux on VMware
Firewall: firewalld
SElinux: enforcing
Joomla version: 3.9.16
IP address: 192.168.147.128
1- Install prerequisites
Because Joomla on linux relies on AMP, we must install Apache, Mysql (MariaDB) and PHP. so refer to this article to know about How to install AMP on CentOS 7 linux.
2- Install Additional PHP modules
additional php modules need to be installed on our server for Joomla. so install it by issuing:
# yum install php72-php-cli php72-php-gd php72-php-opcache php72-php-mysqlnd php72-php-json php72-php-mcrypt php72-php-xml php72-php-curl
3- Create Joomla database
Now we must create a database for Joomla:
# mysql -u root -p
# CREATE DATABASE joomla;
# GRANT ALL ON joomla.* TO 'joomlauser'@'localhost' IDENTIFIED BY 'your password';
# FLUSH PRIVILEGES;
# EXIT;
4- Install Joomla
Now it’s time to download Joomla package and install it:
# wget https://downloads.joomla.org/cms/joomla3/3-9-16/Joomla_3-9-16-Stable-Full_Package.zip
then unzip download Joomla package into apache document root directory:
# unzip Joomla_3-9-16-Stable-Full_Package.zip -d /var/www/html
and change permission and owner of files to apache:
# chown -R apache:apache /var/www/html
# chmod 755 /var/www/html
5- Configure apache
We must create a virtual host for Joomla on apache. so we add a configuration to apache directory:
# vim /etc/httpd/conf.d/joomla.conf
put the following content in it:
<VirtualHost *:80>
     ServerAdmin [email protected]
     DocumentRoot "/var/www/html"
     ServerName joomla.example.com
     ErrorLog "/var/log/httpd/example.com-error_log"
     CustomLog "/var/log/httpd/example.com-access_log" combined

<Directory "/var/www/html">
     DirectoryIndex index.html index.php
     Options FollowSymLinks
     AllowOverride All
     Require all granted
</Directory>
</VirtualHost>
then restart apache service:
# systemctl restart httpd
now point to your server IP address on a browser like Firefox:
# http://192.168.147.128
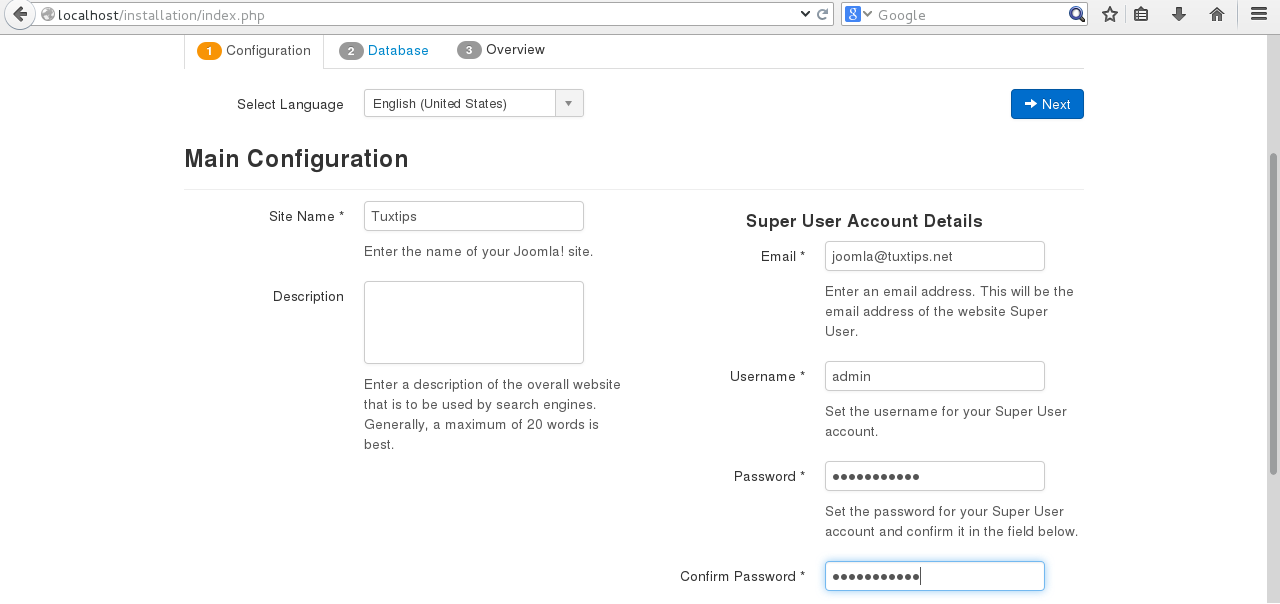
and finally continue Joomla setup like below pictures:
set “Site Name”, “Email”, “Username” and “Password” and then click Next.
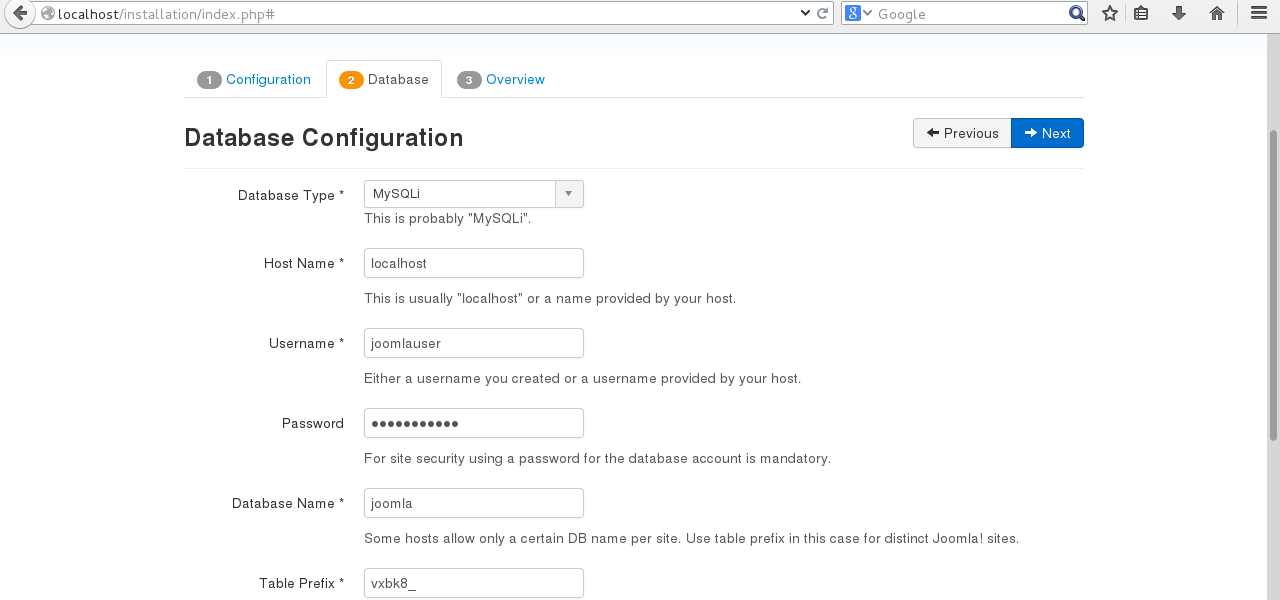
then specify “Username”, “Password” and “Database” that we created in step 3. then click Next.
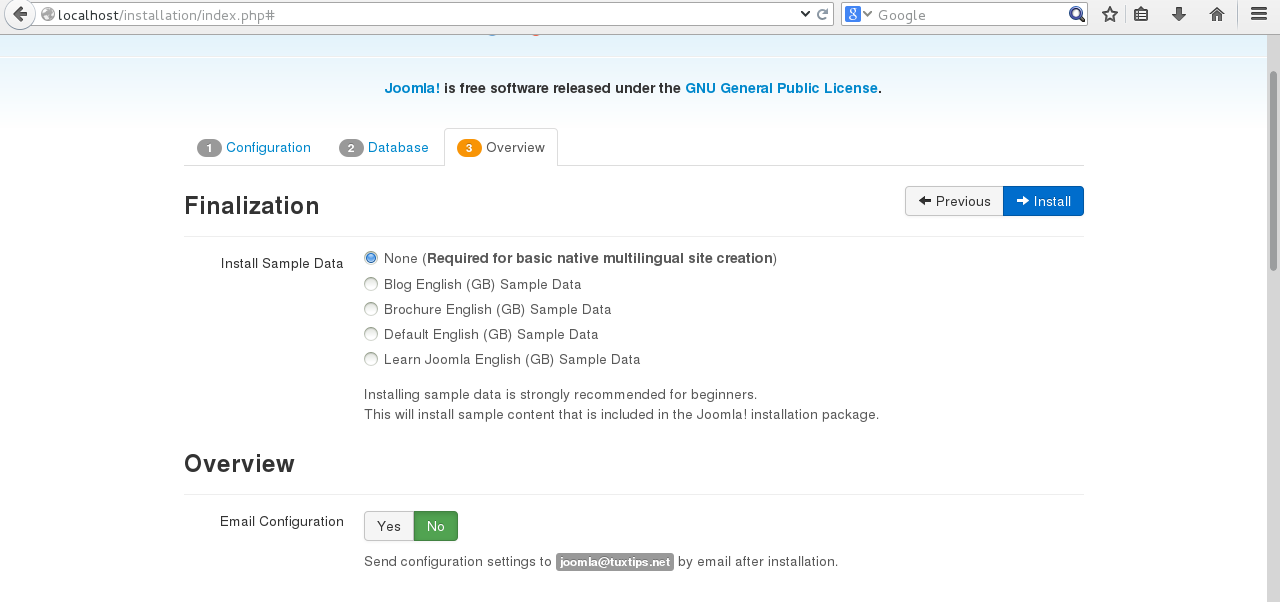
Now review settings and if everything is fine click on Install.
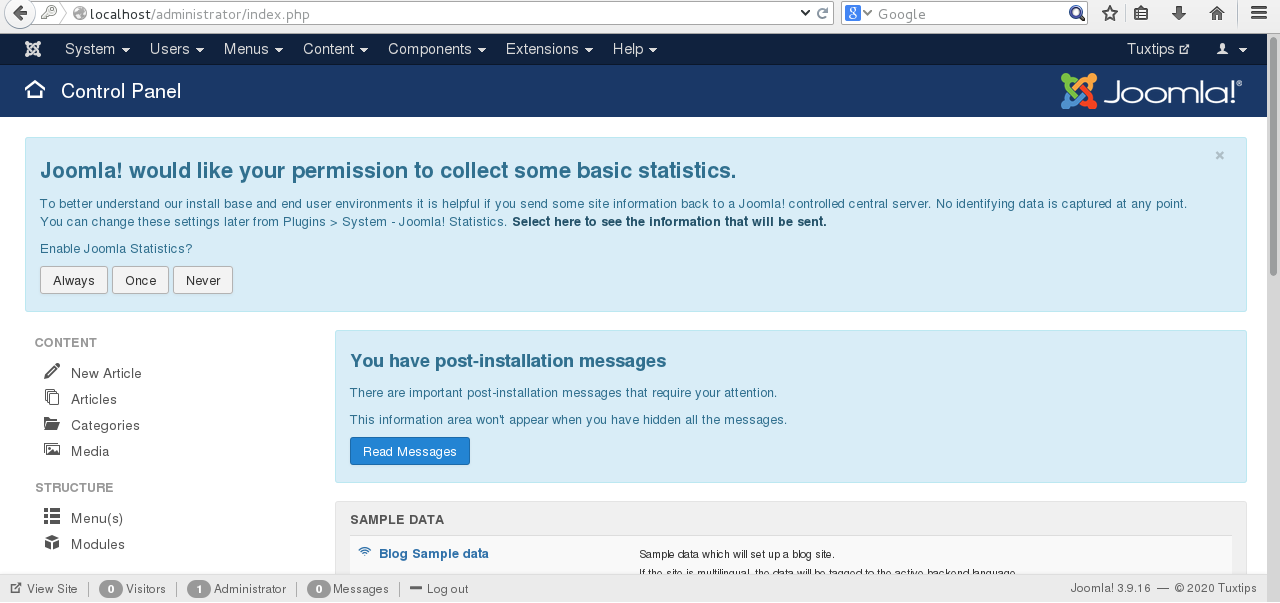
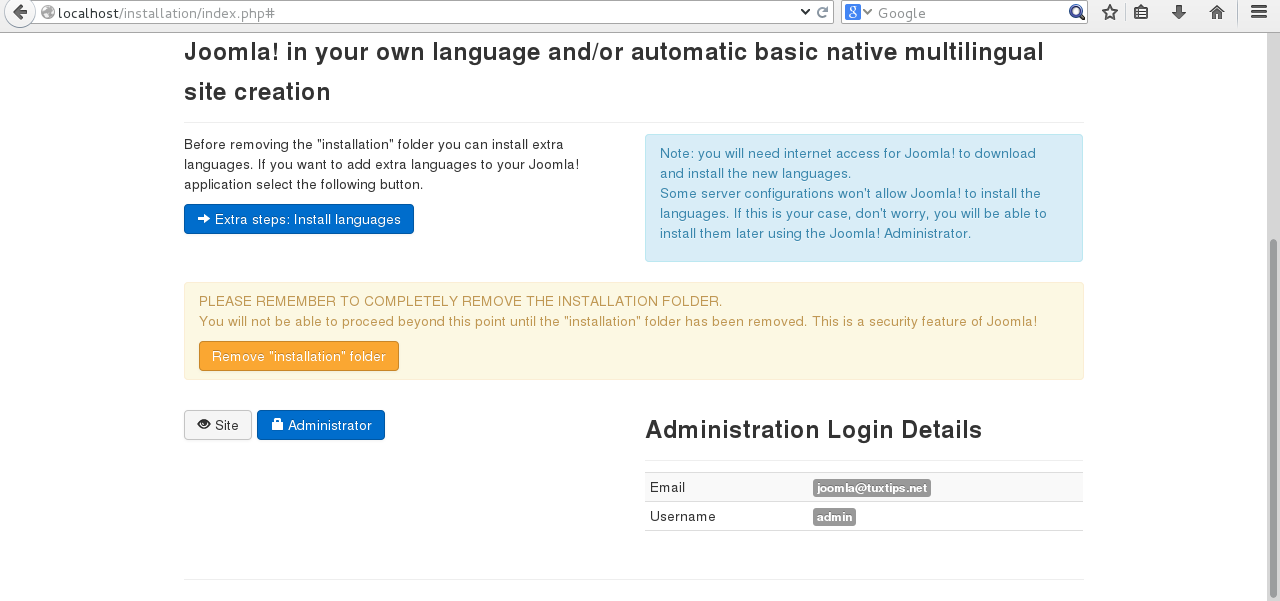
If everything goes well you will see Joomla is now installed.

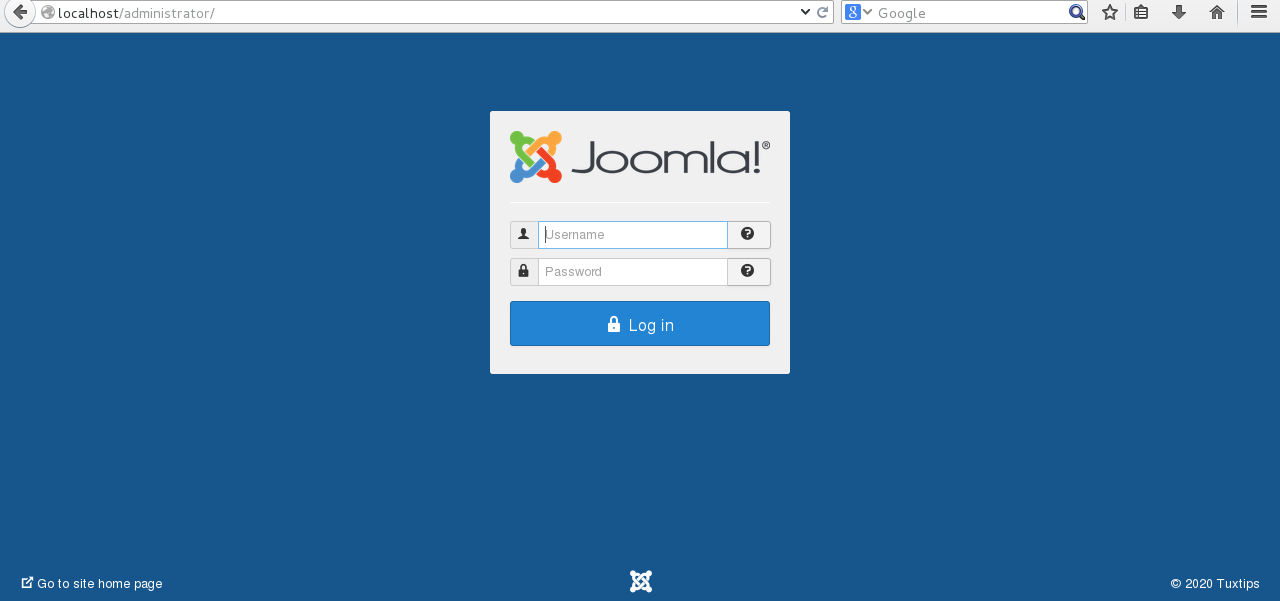
For security, we must delete installation folder. so click on “Remove installation folder” button and then click on “Administrator”.
Finally type created username and password that we set in Joomla installation steps.